
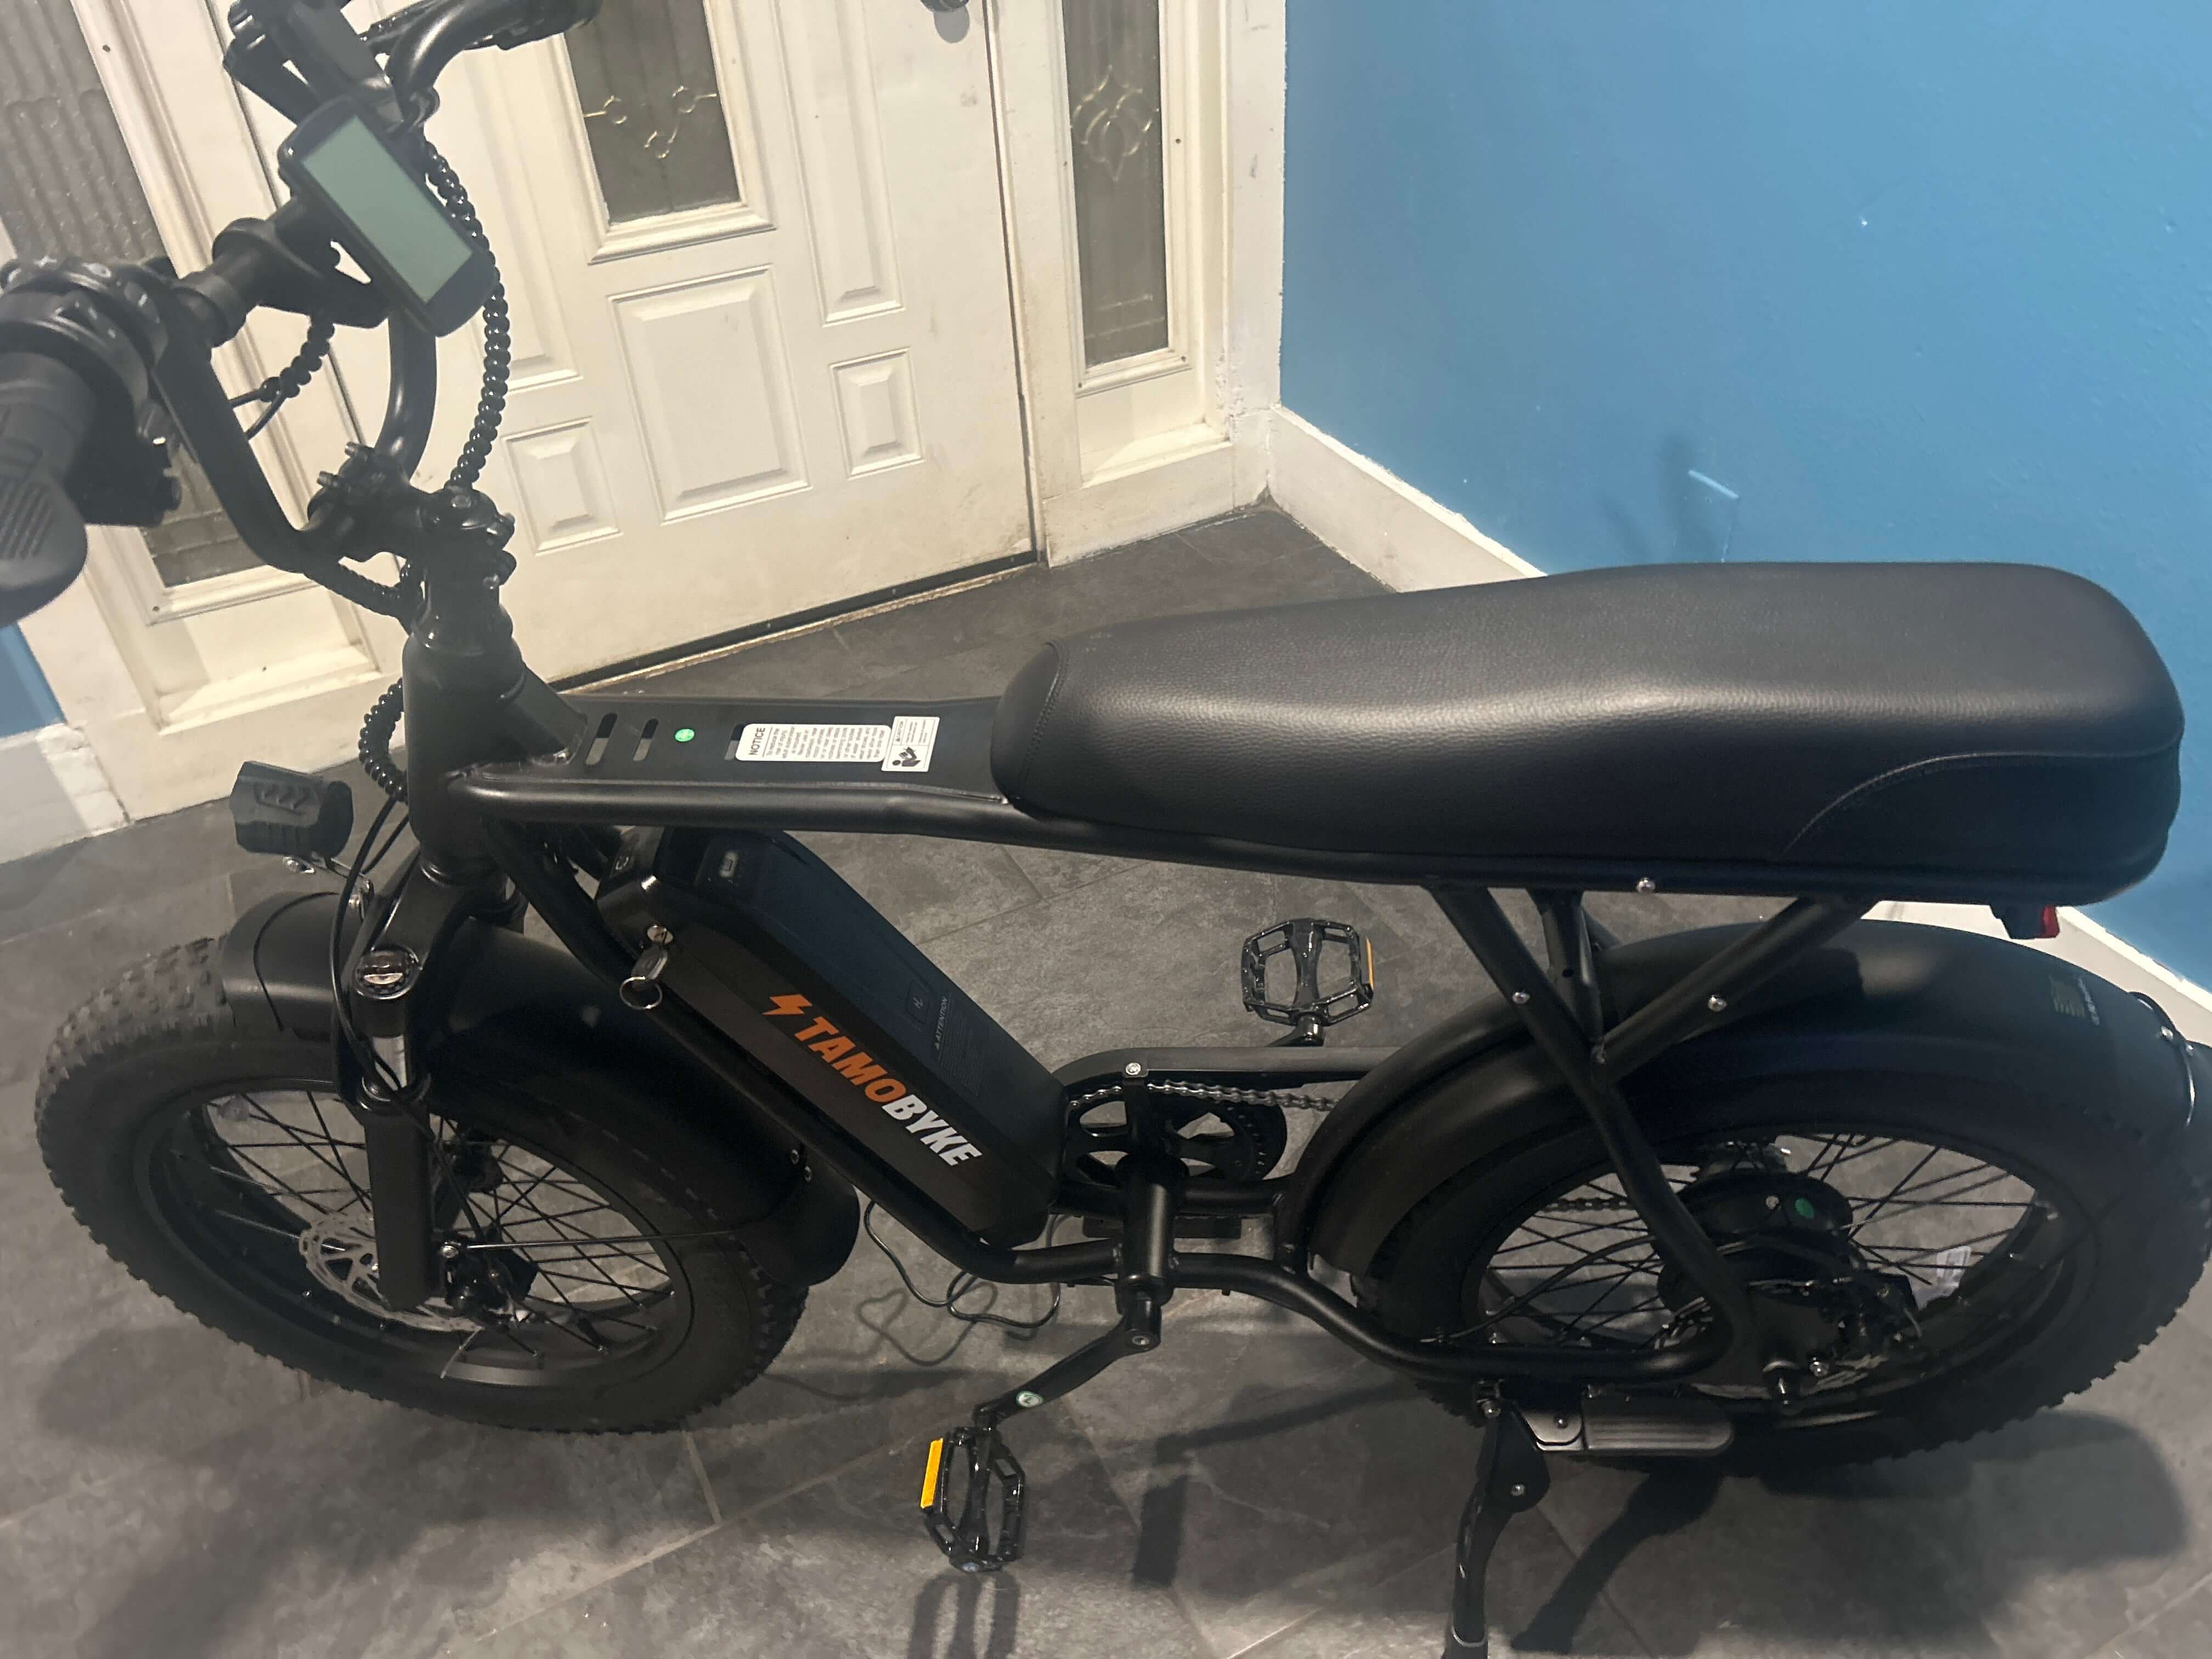
Understanding Your Tamobyke Motor Controller System
Your Tamobyke electric bike features sophisticated brushless motor controllers designed to handle high-power outputs ranging from 1000W to 2000W, depending on your model. These controllers work seamlessly with 48V battery systems, delivering efficient power management for speeds up to 35 mph and ranges extending to 100 miles on select models.
The controller interprets signals from your throttle, pedal assist sensors, brake levers, and LCD display to provide precise power delivery. When functioning properly, it converts direct current (DC) from your battery into three-phase alternating current (AC) that powers your motor, allowing for precise control over speed and torque.
Common Tamobyke Controller Problems and Symptoms
Power Delivery Issues
Intermittent Power Loss: If your Tamobyke shuts off randomly during rides, especially when hitting bumps or accelerating, this often indicates loose connections or controller malfunctions. This problem is particularly common in the V20 and TB20 models when exposed to vibrations.
Inconsistent Performance: Sudden power surges or drops during riding can indicate controller problems, affecting your bike's ability to maintain consistent speeds. You might notice this when switching between pedal assist levels or when using the throttle.
Display and Communication Errors
LCD Display Malfunctions: When your Tamobyke's display shows incorrect information or becomes unresponsive, it often signals communication issues between the controller and display unit. The Digital LCD 3.0 displays found on Tamobyke models are particularly sensitive to voltage fluctuations.
Error Codes: Modern Tamobyke controllers display specific error codes when problems occur. Understanding these codes helps pinpoint exact issues within your bike's electrical system.
Motor Response Problems
No Motor Engagement: When your motor fails to respond despite throttle or pedal input, the issue often lies with power transistor failure within the controller or disrupted communication signals.
Overheating: Controllers can overheat due to excessive load or internal faults, particularly when climbing steep hills or carrying heavy loads. Tamobyke models with higher wattage motors (TB20, V20 Pro) are more susceptible to thermal issues.
Step-by-Step Troubleshooting Process
Initial Safety Checks
Before beginning any troubleshooting, always:
- Power off your Tamobyke completely
- Remove the battery to eliminate electrical hazards
- Allow the system to cool if overheating is suspected
- Gather necessary tools including screwdrivers and a multimeter
Battery and Connection Inspection
Check Battery Connections: Inspect battery terminals for secure connections, corrosion, or dirt buildup. Clean terminals with a dry cloth and ensure all connections are tight. Tamobyke's removable battery design makes this inspection straightforward.
Verify Battery Health: Test your 48V lithium battery with a multimeter. Healthy batteries should read between 46V-54V depending on charge level. If readings are significantly lower, battery replacement may be necessary.
Inspect Wiring Harness: Examine all electrical connections for loose, corroded, or damaged wires. Pay special attention to connections that might have been affected by factory contamination.
Controller-Specific Diagnostics
Communication Cable Testing: Disconnect the instrument line (cable connecting controller to display) and inspect pins for corrosion or damage. Clean connections with appropriate contact cleaner designed for electronics.
Motor Hall Sensor Verification: For advanced users, checking motor hall effects sensors using a multimeter can identify position sensor failures that affect controller performance. This is particularly relevant for hub motor models like the V20 series.
System Reset Procedure: Perform a complete system reset by turning off the bike, removing the battery, holding the power button for 10-15 seconds, then reinstalling the battery. This resolves many software-related controller glitches.
Advanced Diagnostic Techniques
Thermal Management: Monitor controller temperature during operation. Avoid overheating by not overloading your Tamobyke with excessive weight or attempting climbs beyond your motor's capabilities. The 1500W and 2000W motors in higher-end models require adequate cooling.
Voltage Testing: Use a multimeter to verify proper voltage at various connection points. Controllers should receive consistent 48V input and provide appropriate output to motor phases.
Load Testing: Test controller performance under various load conditions to identify intermittent failures that only occur during specific riding scenarios.
Professional Repair vs. DIY Solutions
When to Attempt DIY Repairs
Simple troubleshooting like cleaning connections, checking wiring, and performing system resets can often be handled by motivated owners. Basic checks for loose connections, faulty wiring, or blown fuses are safe for most users to perform.
When Professional Help is Essential
If basic troubleshooting doesn't resolve the problem, consulting a qualified e-bike mechanic is recommended for controller diagnosis and potential replacement. This is especially important for:
- Internal controller component failures
- Complex wiring problems
- Motor system integration issues
- Warranty-covered repairs
For comprehensive guidance on professional ebike maintenance practices, refer to the Electric bicycle Wikipedia page which provides detailed technical information about motor systems and safety protocols.
Controller Replacement Considerations
Compatibility Requirements
Ebike controllers must match motor voltage, phase wiring, and signal protocols. Using incompatible units can damage components or reduce performance. Tamobyke's proprietary systems require specific controller specifications.
Tamobyke-Specific Requirements:
- 48V system compatibility
- Appropriate wattage rating (1000W-2000W depending on model)
- Correct connector types for display, throttle, and brake sensors
- Compatible with Tamobyke's pedal assist sensor systems
Replacement Process
Professional controller replacement involves confirming the faulty component, purchasing compatible units, gathering appropriate tools, and carefully disconnecting/reconnecting all system wires. This process requires technical expertise to avoid damaging other components.
Preventive Maintenance for Controller Longevity
Regular Inspection Schedule
Implement monthly checks of your Tamobyke's electrical system:
- Clean battery connections and terminals
- Inspect wiring for wear or damage
- Verify display functionality across all modes
- Test throttle and brake sensor response
Environmental Protection
Protect your controller from harsh conditions:
- Use bike covers during storage
- Avoid prolonged exposure to extreme temperatures
- Keep connections dry and clean
- Store in climate-controlled environments when possible
Load Management
Avoid overheating by managing load appropriately - don't exceed weight limits or attempt hills beyond your motor's power rating. This is particularly important for models like the TB20 with full suspension systems that might encourage more aggressive riding.
Conclusion
Motor controller troubleshooting requires systematic diagnosis and careful attention to safety protocols. While many issues can be resolved through basic maintenance and cleaning, complex problems require professional expertise. Regular maintenance and proper usage will extend your Tamobyke controller's lifespan, ensuring reliable performance for thousands of miles.
For additional support with your Tamobyke electric bike, consult your owner's manual or contact Tamobyke's customer service team. Remember that proper ebike maintenance practices are essential for long-term reliability and safety.

Share:
E-Bike Care Techniques: Complete Maintenance Guide
Electric Bike Safety Systems: Tamobyke E-Bike Safety Features