
Why Choose Electric Bike Conversion Over Buying New?
Before diving into conversion options, it's worth understanding why many cyclists choose to electrify their existing bikes rather than purchasing a complete e-bike like the Tamobyke V20 Pro or T63 Commuter. Converting your beloved bike allows you to maintain the familiar feel and geometry you've grown to love while adding the convenience of electric assistance.
Key Benefits of DIY Conversion:
- Cost savings: Significantly lower investment compared to premium e-bikes
- Customization freedom: Choose components that match your specific riding style
- Environmental impact: Extend your current bike's life rather than discarding it
- Learning experience: Gain valuable knowledge about electric bike technology
Understanding Electric Bike Conversion Components
Every successful e-bike conversion requires five essential components that work together to create your electric riding experience:
1. Motor Selection: The Heart of Your Conversion
Hub Motors vs. Mid-Drive Motors
Hub motor kits are convenient: they're cheap, easy to install, and require minimal upkeep. These systems attach directly to your bike's wheel hub and are available in front-wheel and rear-wheel configurations.
Hub Motors are the most popular choice for DIY conversions:
- Front Hub Motors: Easier installation, lower cost ($200-$600)
- Rear Hub Motors: Better traction and handling, more natural feel ($300-$800)
- Power Range: 250W to 1500W (750W recommended for fat tire applications)
Mid-Drive Motors offer superior performance but require more technical expertise:
- Better weight distribution and hill-climbing capability
- Compatible with existing bike gears
- Higher cost and complexity ($600-$1,200)
2. Battery: Your Electric Range Enabler
Ready to start your build? [Check out these high-quality DIY conversion kits and premium components] to ensure your project has the power and reliability it needs.
The battery determines how far you can ride on electric power. Modern lithium-ion batteries offer the best combination of weight, capacity, and longevity.
Battery Specifications to Consider:
- Voltage: 36V, 48V, or 52V (48V is most common for fat tire bikes)
- Capacity: 10Ah to 20Ah (higher Ah = longer range)
- Range: Typically 25-60 miles depending on capacity and riding conditions
- Mounting Style: Frame-mounted, rear rack, or triangle bag options
3. Controller: The Brain of Your System
The controller manages power flow from battery to motor, ensuring smooth acceleration and protecting your components. Choose a controller that matches your motor's voltage and power requirements.
4. Display and Controls
Modern conversion kits include LCD displays showing:
- Current speed and distance traveled
- Battery level and range estimation
- Power assistance levels
- Trip computer functions
5. Additional Components
- Throttle: Twist or thumb throttle for motor control
- Pedal Assist Sensor (PAS): Detects pedaling to automatically engage motor
- Brake Levers: Electric cutoff switches for safety
- Wiring Harness: Connects all components together
Fat Tire Electric Bike Conversions: Special Considerations
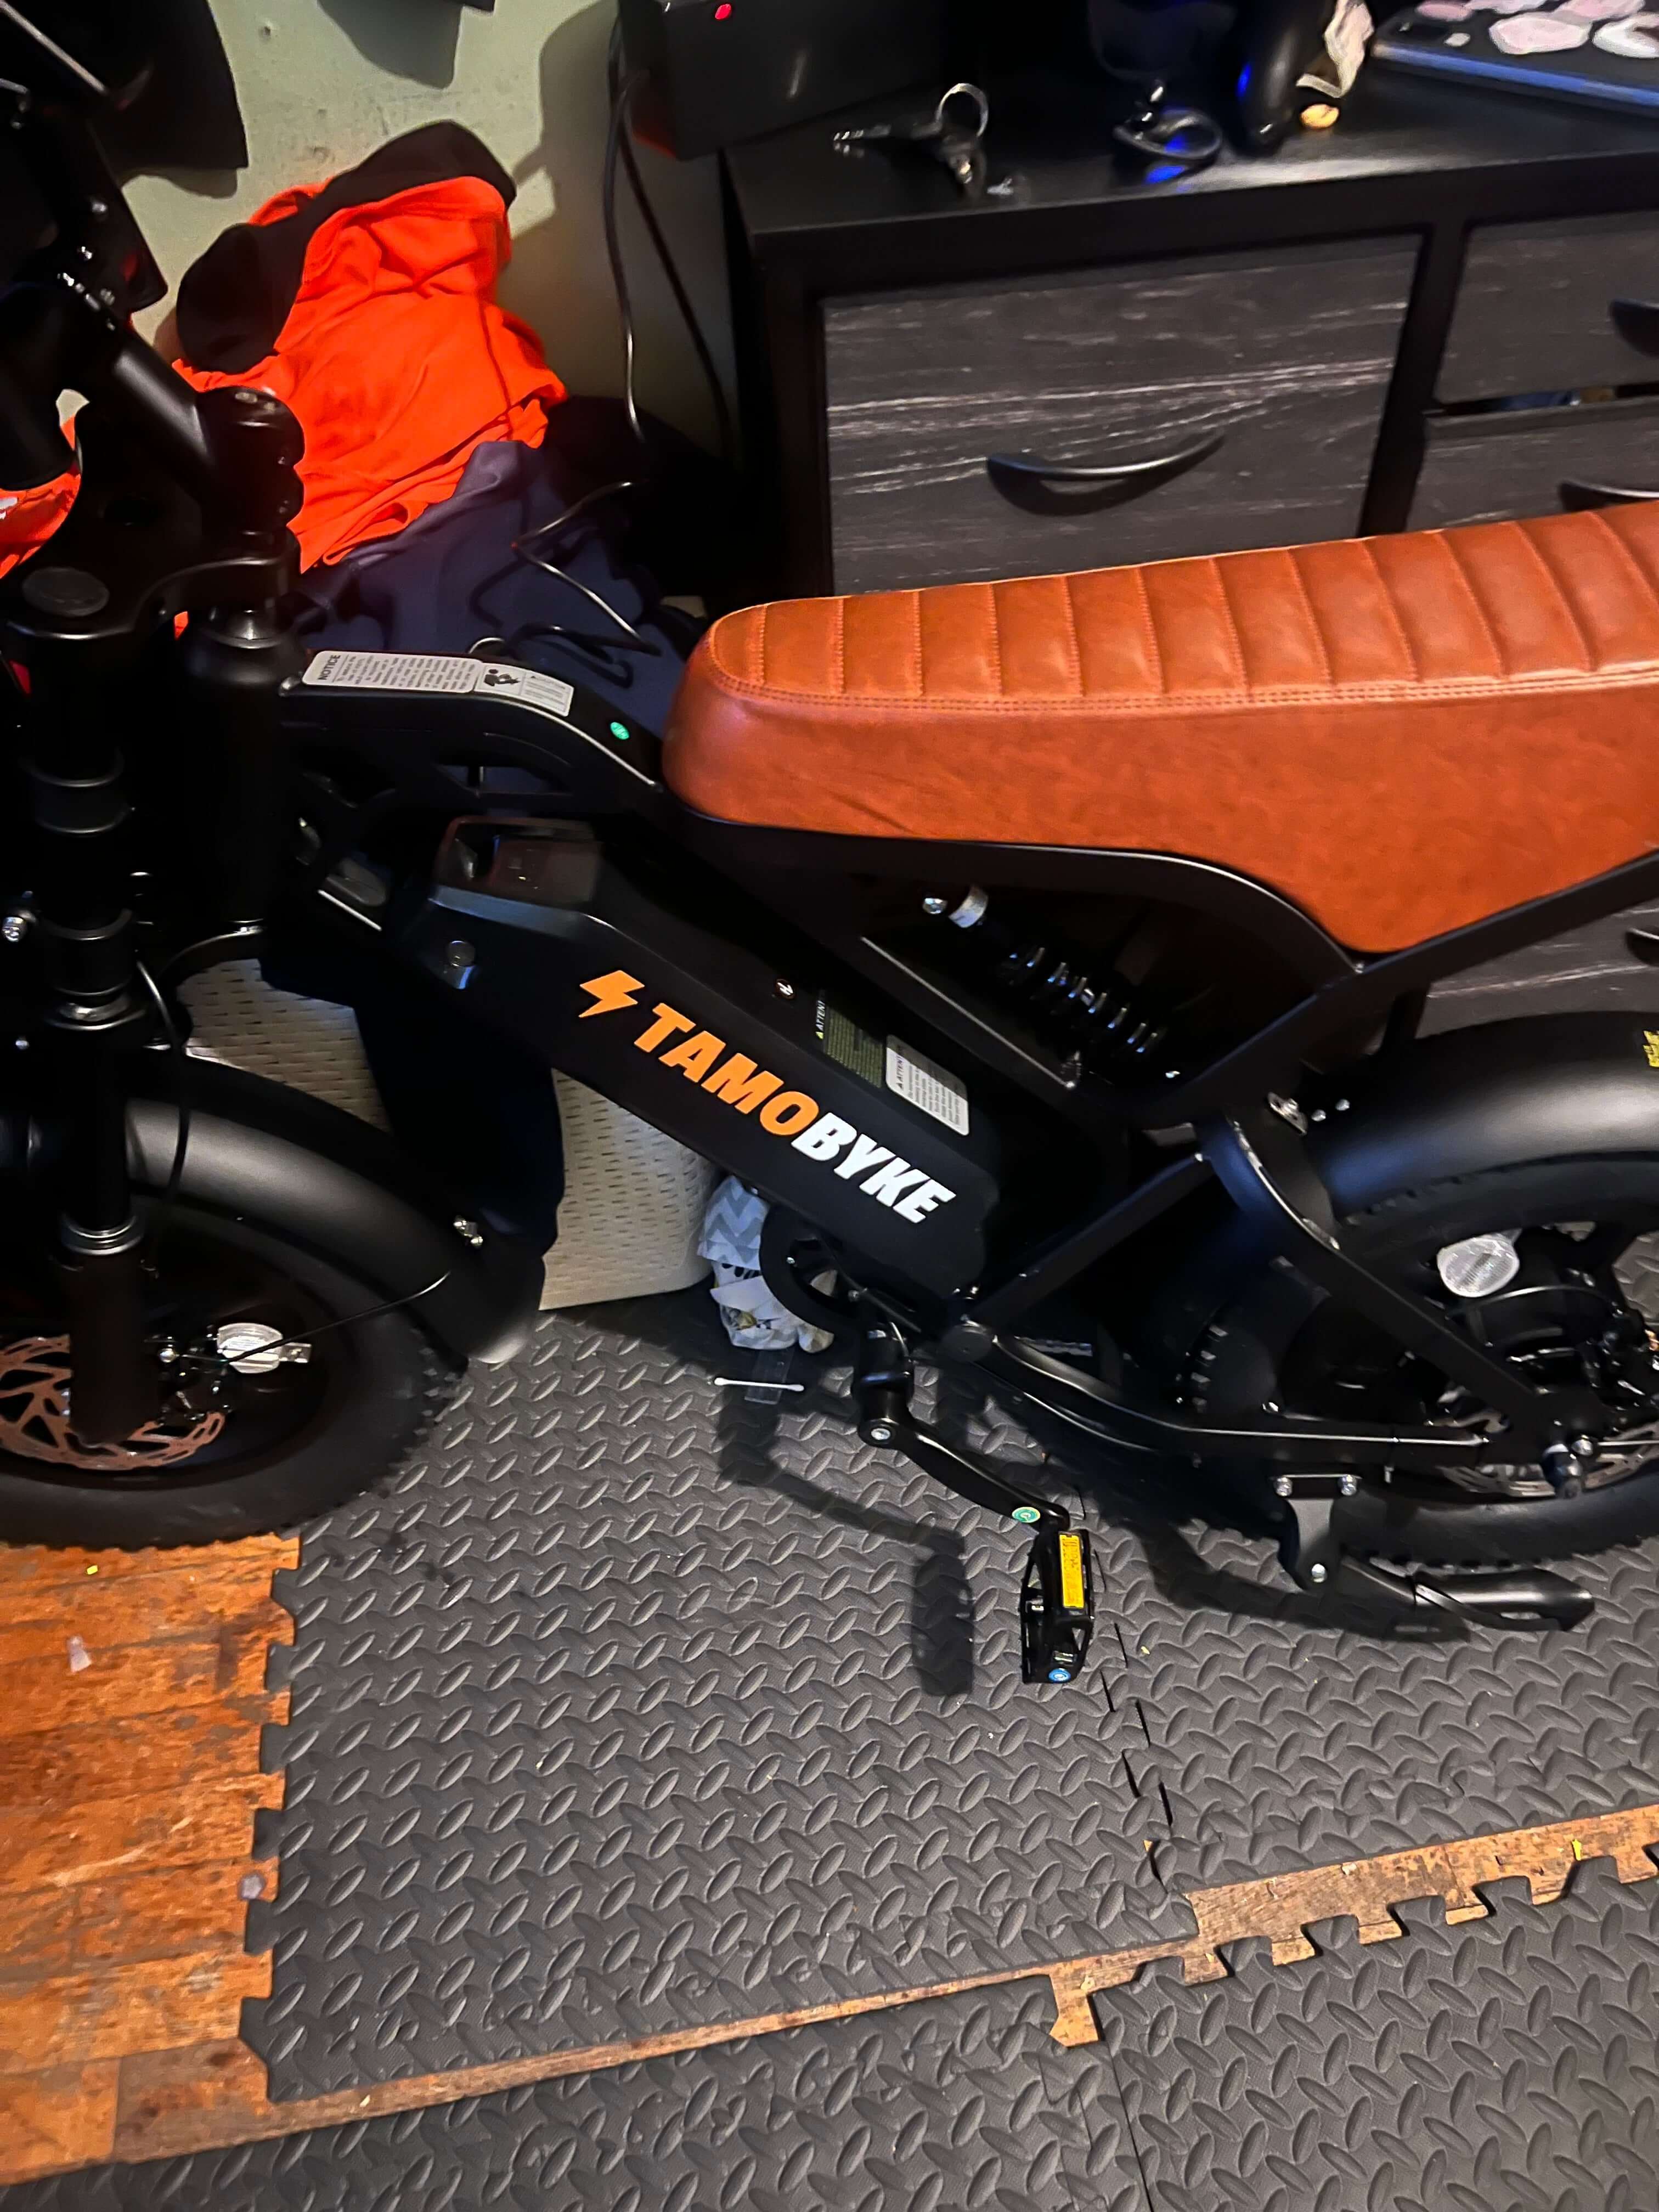
If you're converting a fat tire bike (inspired by models like the Tamobyke V29 Pro), you'll need specialized components designed for wider tires and frames.
Fat Tire Conversion Requirements:
Motor Specifications:
- Hub Motors: 750W-1500W recommended for fat tire applications
- Axle Width: 170-190mm for fat bike rear dropouts
- Wheel Size: 20", 24", or 26" diameter with 4.0" tire width compatibility
Popular Fat Tire Conversion Kits: Fat electric bike conversion kit suitable for a fat bike with a 170mm dropout of rear fork, typically featuring:
- 750W-1000W brushless geared motors
- 48V battery systems (13-20Ah capacity)
- LCD displays with comprehensive metrics
- Heavy-duty controllers (25A rating)
Step-by-Step Conversion Process
Phase 1: Planning and Preparation
1. Assess Your Bike's Compatibility
- Check frame material (steel preferred for durability)
- Measure dropout width (spacing between rear wheel mounts)
- Ensure adequate frame space for battery mounting
- Verify brake type (disc brakes recommended)
2. Choose Your Conversion Kit Select components based on:
- Your riding terrain and distance needs
- Power requirements (commuting vs. off-road)
- Budget constraints
- Technical skill level
Phase 2: Installation Process
1. Prepare Your Workspace
- Clean, well-lit area with proper tools
- Bike stand or secure mounting method
- Basic tools: wrenches, screwdrivers, cable ties
2. Motor Installation
The actual conversion process is surprisingly simple. Start by flipping the bike upside-down and removing the front wheel. Pull the tire off the wheel after letting the air out of the inner tube, then transfer the inner tube and tire over to the motor wheel.
For Hub Motor Installation:
- Remove existing wheel (front or rear depending on kit)
- Transfer tire and inner tube to motor wheel
- Install motor wheel, ensuring proper alignment
- Secure with provided hardware and torque arms if needed
3. Controller and Wiring
- Mount controller box to frame (usually rear rack area)
- Route wiring harness from motor to controller
- Connect all components following kit instructions
- Secure all cables with zip ties to prevent damage
4. Battery Installation
- Choose mounting location (frame triangle, rear rack, or downtube)
- Install battery mount securely
- Connect battery to controller with main power cable
- Test connection before final mounting
5. Display and Controls Setup
- Mount LCD display on handlebars
- Install throttle (replace right grip)
- Connect brake levers if included
- Install pedal assist sensor on crank
Phase 3: Testing and Fine-Tuning
1. Initial System Check
- Verify all connections are secure
- Check battery charge level
- Test display functions and readings
2. Test Ride
- Start with lowest assistance level
- Test throttle response and braking
- Check for any unusual noises or vibrations
- Gradually test higher power levels
3. Adjustments and Optimization
- Fine-tune display settings
- Adjust pedal assist sensitivity
- Optimize component positioning for comfort
Maintenance and Safety Considerations
Regular Maintenance Tasks
Battery Care:
- Charge after every ride for optimal longevity
- Store at 50-80% charge when not in use
- Keep battery connections clean and dry
- Monitor for any swelling or damage
Motor Maintenance:
- Check hub motor bolts periodically
- Keep motor clean and free of debris
- Monitor for unusual sounds or overheating
Electrical System:
- Inspect wiring for wear or damage
- Ensure waterproof connections remain sealed
- Test brake cutoff switches regularly
Safety Guidelines
Safety is one of the most important aspects of riding an electric bike. The first and most basic safety consideration is to always wear a helmet. Additionally, you should always wear bright clothing and use front and rear lights to make yourself more visible to other road users.
Essential Safety Practices:
- Always wear appropriate protective gear
- Understand local e-bike laws and regulations
- Start with conservative power settings
- Upgrade brakes to handle increased speeds
- Regular safety inspections of all components
Cost Analysis: DIY vs. Complete E-Bike
DIY Conversion Costs:
- Basic Kit: $250-$600 (250W-750W hub motor)
- Premium Kit: $800-$1,400 (1000W+ with high-capacity battery)
- Installation Tools: $50-$100 (if not owned)
- Total Investment: $300-$1,500
Comparison with Complete E-Bikes:
While conversion offers significant savings, premium complete e-bikes like the Tamobyke series provide several advantages:
- Professional integration and testing
- Warranty coverage on entire system
- Optimized component matching
- Advanced features like dual batteries (V29 Pro)
If you prefer a professionally integrated ride with a full warranty, explore the [latest Tamobyke high-performance electric bikes] for a ready-to-ride experience without the DIY effort.
Legal Considerations and Regulations
Before completing your conversion, familiarize yourself with local e-bike regulations:
Federal Guidelines (US):
- Maximum 750W motor power for Class 1-3 e-bikes
- Speed limits: 20 mph (Class 1&2) or 28 mph (Class 3)
- Age and helmet requirements vary by state
Important Notes: Be wary of systems controlled by a throttle (also called 'twist-and-go') though. Legally, they're classified as electric motorcycles rather than ebikes, and need to be taxed and insured.
Troubleshooting Common Issues
Electrical Problems:
- No Power: Check battery charge and connections
- Intermittent Operation: Inspect wiring for loose connections
- Display Errors: Refer to manufacturer troubleshooting guide
Mechanical Issues:
- Motor Noise: Check hub motor mounting and axle nuts
- Poor Performance: Verify battery capacity and tire pressure
- Brake Problems: Adjust brake levers and test cutoff switches
Advanced Conversion Options
High-Performance Fat Tire Builds
For riders seeking maximum performance similar to premium models like the Tamobyke V29 Pro:
Specifications for High-End Conversions:
- Motor: 1500W-3000W hub motor or 1000W+ mid-drive
- Battery: 52V-72V systems with 20Ah+ capacity
- Range: 50-80+ miles depending on usage
- Speed: 35-45+ mph (off-road use only)
Dual Battery Systems
Inspired by advanced e-bikes with dual battery configurations:
- Install two smaller batteries instead of one large unit
- Better weight distribution
- Extended range for long-distance touring
- Redundancy in case of single battery failure
When to Consider Professional Installation
While DIY conversion can be rewarding, consider professional installation if:
- You lack mechanical experience with bicycles
- Your conversion involves high-power systems (1500W+)
- You need warranty coverage on installation
- Local regulations require certified installation
Future-Proofing Your Conversion
Upgrade Pathways:
- Battery Upgrades: Higher capacity or newer technology
- Controller Upgrades: More advanced features and programming
- Display Upgrades: GPS, Bluetooth connectivity, smartphone integration
- Component Replacements: As technology advances
Compatibility Considerations:
Choose conversion components with standard interfaces to ensure future upgrade compatibility and part availability.
Conclusion: Your Electric Adventure Awaits
Converting your regular bike to electric opens up a world of possibilities, from effortless commuting to extended recreational rides. While the process requires careful planning and attention to detail, the reward is a personalized electric bike tailored to your specific needs and preferences.
Whether you're inspired by the fat tire performance of Tamobyke models or simply want to breathe new life into your existing bike, electric conversion offers an accessible path to join the electric revolution. Remember that while DIY conversion provides significant cost savings and customization opportunities, premium complete e-bikes like the Tamobyke V20 Pro and T63 Commuter offer the convenience of professional integration and comprehensive warranties.
As e-bike technology continues to evolve, conversion kits are becoming more sophisticated and user-friendly. E-bike conversion kits in 2025 are reshaping the way riders experience commuting, adventure, and performance cycling. Start your electric journey today and discover the joy of effortless cycling.
For more information about electric bike technology and the latest in e-bike innovations, stay tuned to our upcoming posts covering advanced battery technologies and performance optimization tips.

Share:
How Long Does an Ebike Battery Last? (What Riders Need to Know)
Best Electric Bikes Under $1,000 (2026): Tamobyke Review (Tested)